Eggplant Pasta

I extended my 3 day weekend into a 5 day weekend and really enjoyed the time off. I went to the spa with my Mom, did some shopping, lunching, decorating and exercising – it was a much needed break. I still cooked, but I also ate out with friends. Photos were starting to pile up, so I knew I needed to get going on a post or two.

My girlfriend Deede came over Monday afternoon with all of the ingredients for Alton Brown’s Eggplant Pasta. Her neighbor grows eggplants and tomatoes – score! We ran a couple of errands for another project and then got started on dinner for everyone. We doubled the recipe for 5 people and had a lot left over.
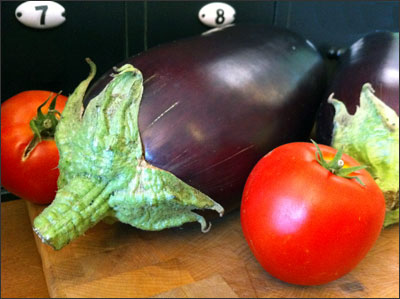
Giant eggplants and tomatoes
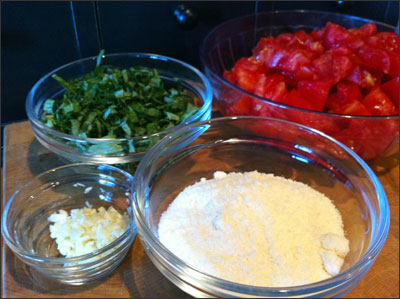
The Ingredients:

2 Medium to Large Eggplants – We used 2.5 giant eggplants
Kosher Salt – used to purge the water out of the eggplant slices
4 Tablespoons Olive Oil
1 Teaspoon Garlic Oil Minced
1/2 Teaspoon Chile Flakes
4 Small Tomatoes – seeded and chopped
1/2 Cup Cream
4 Tablespoons Basil – chiffonade
1/4 Cup Parmesan – freshly grated
Freshly Ground Pepper
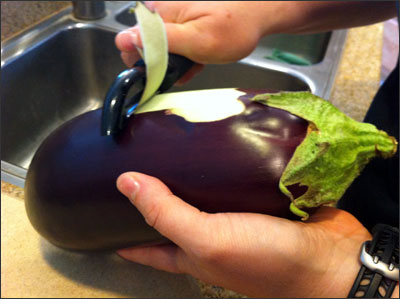
Deede got started on peeling the eggplant. The recipe said to leave 1 inch of skin at the top and the bottom, we didn’t do that.
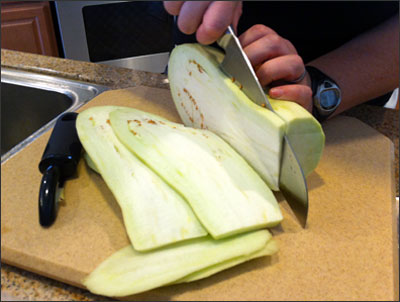
The next step was to cut the eggplant into 1.4 inch slices to get it ready for salting.
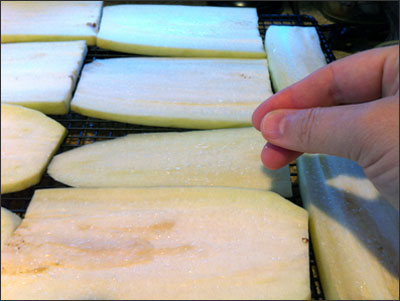
Evenly coat each slice with the kosher salt and purge on a rack for 30 minutes. We had 4 racks going at once.
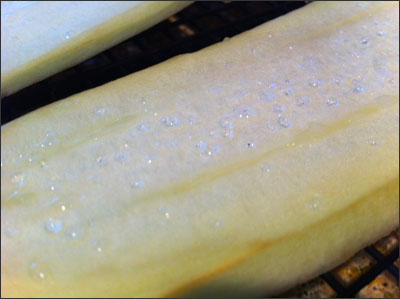
It’s pretty cool to see how much moisture comes out of the eggplant – big drops of water coated every piece.
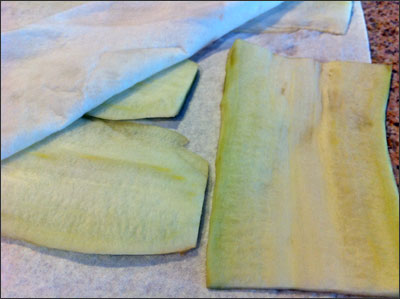
Rinse with cold water and roll in paper towels to dry.
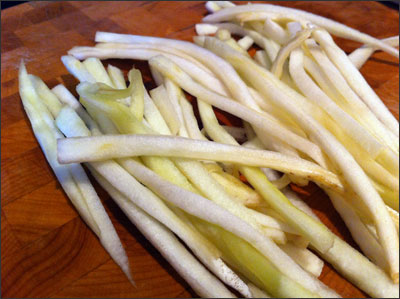
Slice the pieces into thin strips to resemble pasta. This is when we realized the importance of uniformity. Some of the comments on the Food Network website suggested slicing the initial 1/4 inch thick pieces on a mandoline. Not sure it could have handled the huge size of our eggplants, but definitely worth doing if you have smaller eggplant and actually own a mandoline.
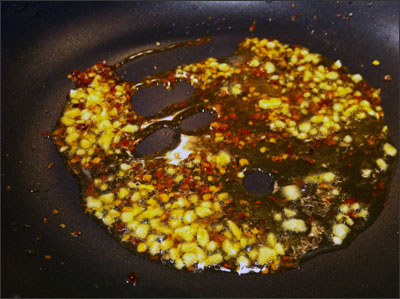
Heat the oil over medium to high heat in a large sauté pan. Add the garlic and chili flakes and toast. We had two pans going at once.
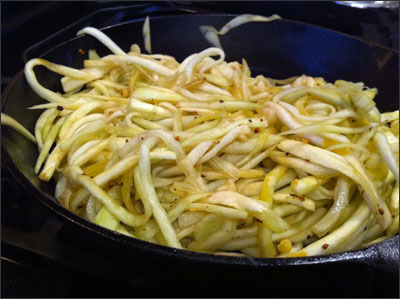
Add the eggplant “pasta” and toss to coat. We let the eggplant cook for about 3-5 minutes. Then add the tomatoes and cook for 3 minutes. Add the cream and increase heat to thicken sauce. Finally add the basil and Parmesan and toss to combine. Season with pepper, no salt needed as the eggplant will have residual salt from the purge process. Serve immediately.
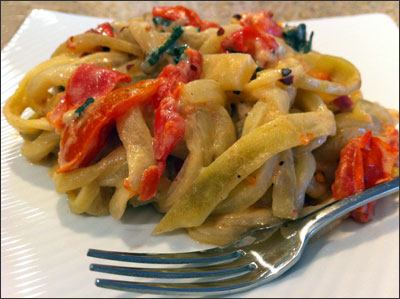
The chile flakes definitely added a zing to this dish. If you don’t want the heat, you could definitely omit or use a lot less. As soon as I dove in, I was busy thinking up additional possibilities – adding sautéed spinach or kale, artichoke hearts, more cheese, a buttered panko topping, etc.  I’m excited to try the dish with some tweaks.

Dan was not a fan – he did try the dish, but opted to fill up on the other items – Caesar salad and fresh bread.
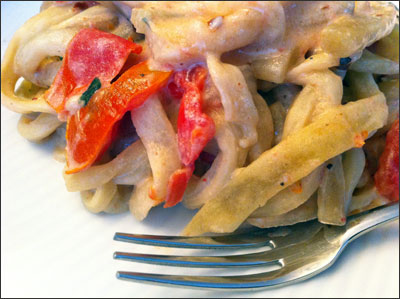
Deede’s husband has put the dish in his “favorites” category. So now I have a zucchini pasta substitute thanks to the slicer and another option with eggplant. To be honest, I am not a huge fan of eggplant, unless it’s breaded and fried, hah! but in this form, I really enjoyed it. The slime factor was absent and the salt purge was definitely the secret to that.

No worries, I haven’t given up pasta – I also made a real pasta dish over the weekend and will be posting that next.

Permanent link to this article: http://foodiddy.com/?p=1117

Nat’s Peach Pit Crisp

9/02/10 – It’s 90210 day and I’m celebrating with a recipe for Nat’s Peach Pit Crisp – named after the famous 90210 hangout,  The Peach Pit Diner. Yep, just made that name up. Remember Peach Pit After Dark?

The truth is, I actually found Anne Burrell’s recipe on the Food Network website for Peach Crisp. I omitted a few items and increased some of the ingredients and renamed it for the purpose of celebrating the day.

I can’t even begin to explain how obsessed I was with 90210 back when it first aired in 1990. How crazy, 20 years, really? Wow… I taped every episode on the family VCR and I color coded each VHS cassette. I had pins, stickers, trading cards, magazine articles, posters, and most importantly… the FREAKIN’ DOLLS. I had all of the dolls and multiple outfits for each – I still have the boxes and the outfits are sealed in the original packaging and worth about $1.50, hah!

Check out Kelly and Donna hangin’ out on my peaches. “Donna Martin Graduates” – You know you’re jealous… Brandon looks a little possessed, but Brenda sure is rockin’ her Blossom hat. I can’t forget good ol’ Dylan McKay – with his eyebrow scar. Bad boy central.

The Ingredients:

For the Filling
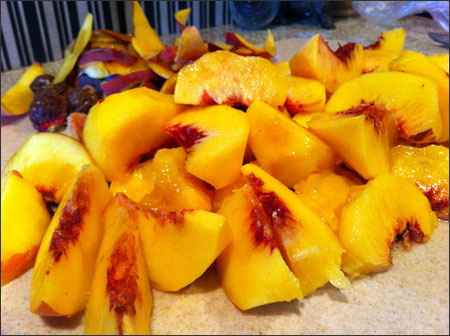
6 Large Ripe Peaches – pitted, peeled and cut into chunks
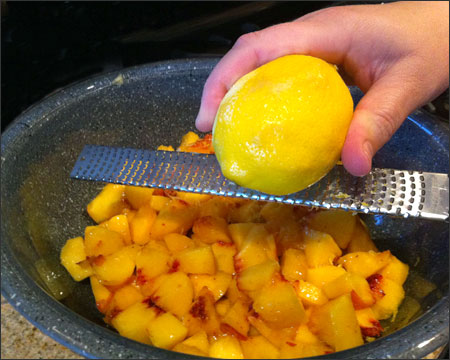
1 Lemon – zested and juiced
3 Tablespoons All-Purpose Flour
1/4 Cup Brown Sugar – tightly packed
2 Tablespoons Sugar – because the brown wasn’t enough 😉
1/2 Teaspoon Vanilla Extract
Pinch of Kosher Salt

For the Topping
1 1/4 Cups All-Purpose Flour
1/2 Cup Rolled Oats
1/2 Cup Brown Sugar
1/2 Cup Sugar
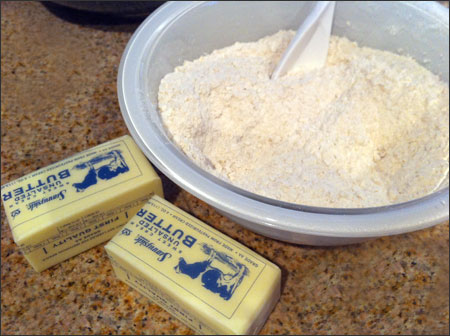
1 1/4 Stick Cold Unsalted Butter – cut into pea sized pieces
Pinch of Kosher Salt
2 Tablespoons Cold Water

Set your oven to 350 degrees F and then prep your peaches – peel and cut into chunks and place into a large bowl.

Add the lemon zest and lemon juice and toss.

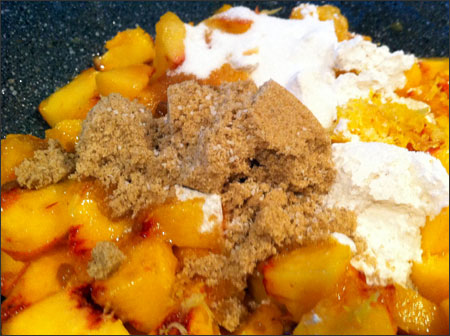
Add the rest of the filling ingredients and stir to combine.

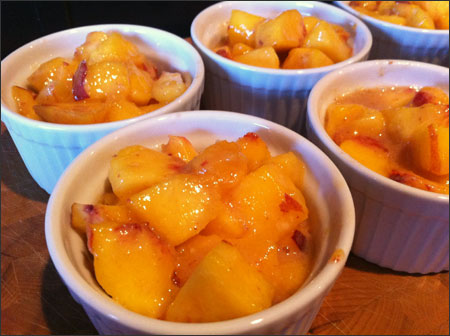
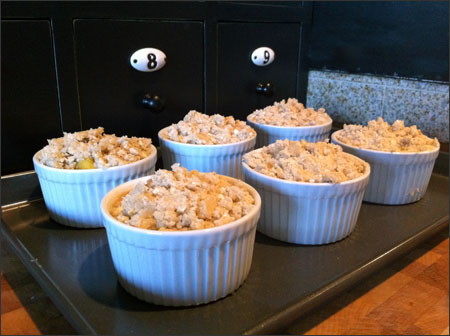
Divide the filling evenly between 8 (6 ounce) ramekins.

For the topping… combine all of the ingredients in a bowl (except for the water) and mix with your hands. I really made sure that the pieces of butter were evenly dispersed. After a minute or two of mixing, gradually add the 2 tablespoons of water until the mixture is clumpy, but still crumbly.

Place the ramekins on a baking sheet and top each ramekin with the topping. Be sure to loosely sprinkle the topping  – you don’t want to pack it down. The idea is for it to be a loose crumble. Bake until the filling is hot and bubbly and the topping is brown and crispy. The original recipe said 20-25 minutes – mine easily took 35-40 minutes.

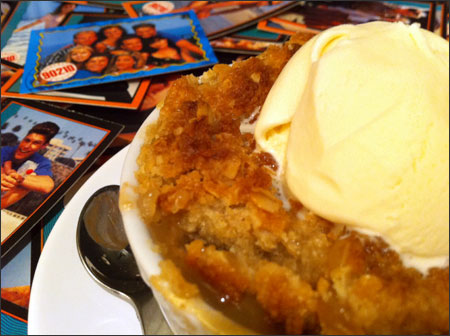
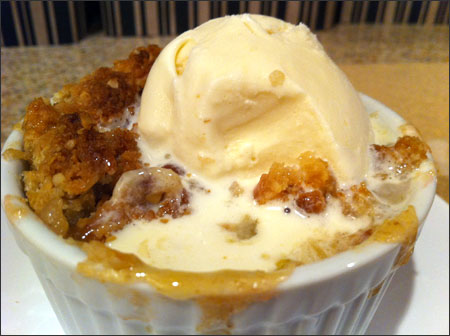
I added a scoop of vanilla ice cream and was good to go.

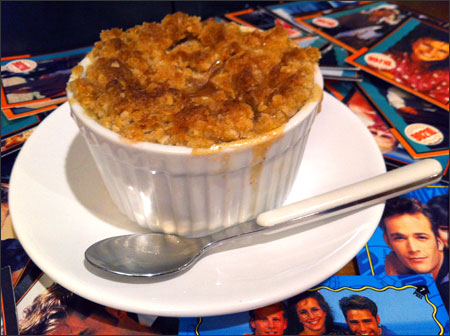
I had fun looking through all of my old trading cards…

And then I dove right in… It was awesome! Dan and I both gobbled it down. 6 more to enjoy…think I’ll be giving some away.

Happy 90210 Day!

P.S. – For all of you original 90210 fans – who was your favorite character?

Permanent link to this article: http://foodiddy.com/?p=1095

South of the Border Tomato Soup

The weather over the weekend was a sneak peek into fall – it was overcast in the mornings and I actually broke out a sweatshirt. I love Fall so much that I knew I wanted to find a soup recipe. My Mom is the “Queen” of homemade soups and it’s time I adopted a similar title.

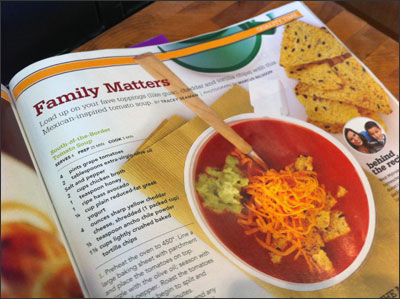
I have stacks and stacks of magazines full of recipes and I decided I would focus on the latest Everyday with Rachael Ray Magazine. There was a recipe for South of the Border Tomato Soup and apparently I still have an obsession with all things tomato.

I have always loved a good tomato soup teamed with a grilled cheese sandwich, but this had a different spin and I knew I wanted to give it a try.

The Ingredients:

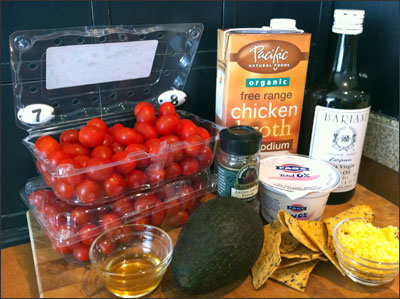
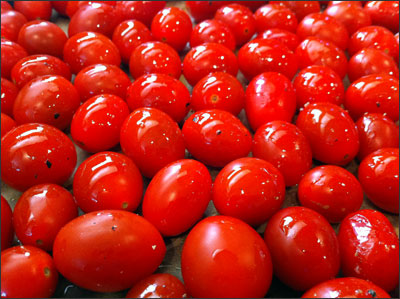
4 Pints Grape Tomatoes – I had another container in the fridge – that’s a lot of tomatoes, thank God for Trader Joe’s and their cheap grape tomatoes.
2 Tablespoons Extra Virgin Olive Oil
Salt and Pepper
2 Cups Chicken Broth – I used low sodium because I had some left from the Tofu Shirataki Ramen recipe
1 Teaspoon Honey
1 Ripe Avocado
1/4 Cup Plain Reduced-Fat Greek Yogurt – I used Fage 0%
4 Ounces Sharp Yellow Cheddar Cheese – Shredded (1 Packed Cup)
1/2 Teaspoon Ancho Chile Powder
1.5 Cups Lightly Crushed Baked Tortilla Chips – I used Trader Joe’s Spicy Soy and Flaxseed Tortilla Chips

Directions:

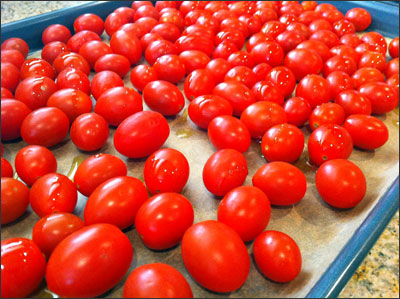
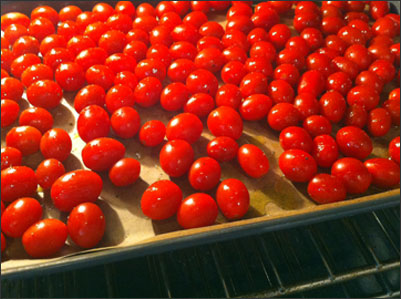
Preheat oven to 450 degrees F. Line a large baking sheet with parchment and place the tomatoes on top. My parchment paper said it could withstand 400 degrees F. I was a little leery to try it at 450, but decided after consulting with Dan to give it a go. No issues, it worked like a champ.

Drizzle tomatoes with olive oil and season with salt and pepper.

Oven shot…

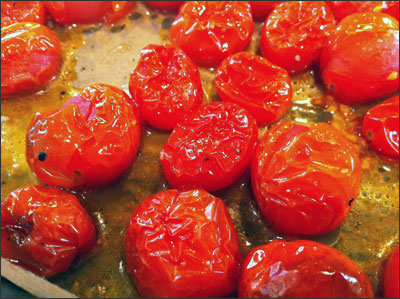
Roast the tomatoes until the skins begin to split and blister, about 15-20 minutes.

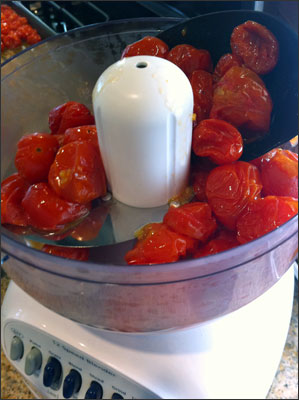
Transfer the tomatoes and any of the juices to a food processor.

I had to do mine in 3 batches – how sad is it that I had to reference my post on the minty pea and butter bean hummus recipe to see how the blender/food processor went together. Hah! I need to use it more often.

Add 1 cup of chicken broth to the tomatoes and process until coarsely pureed, about 10 seconds.

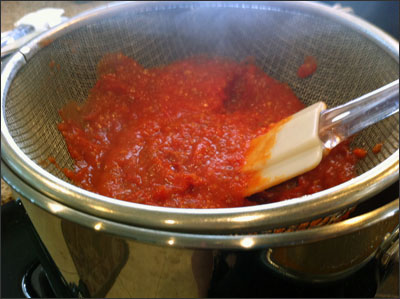
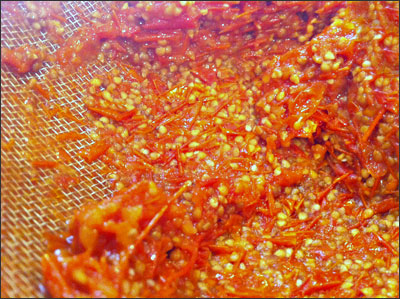
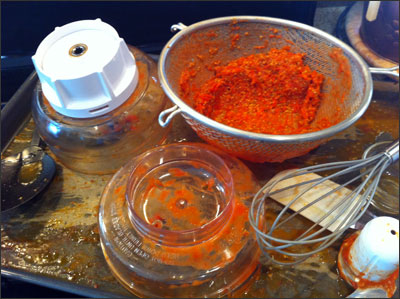
Force the mixture through a fine sieve/strainer set over a medium saucepan, discarding the seeds and pulp.

You are left with the above nightmare. Cleaning that puppy was not fun!

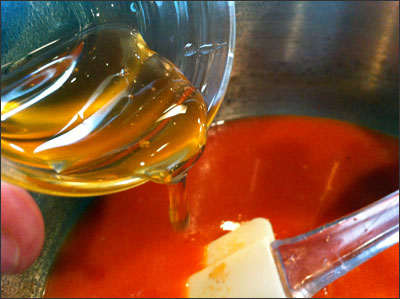
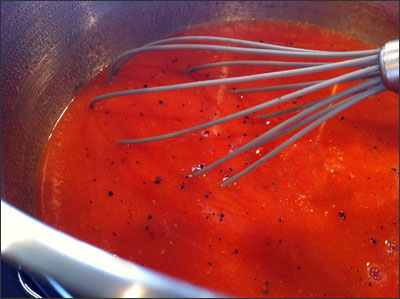
Add the honey and the remaining 1 cup chicken broth to the saucepan and bring to a simmer over medium heat, whisking occasionally, about 5-10 minutes.

Season with salt and pepper to taste.

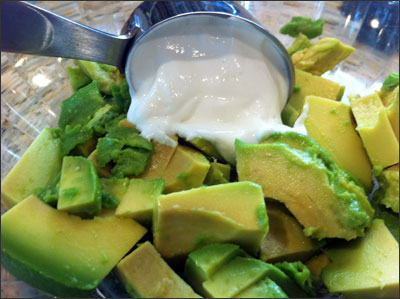
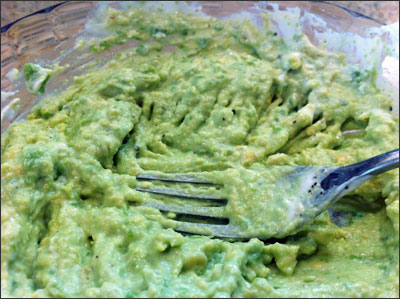
Meanwhile, in a small bowl, mash the avocado; stir in the yogurt and season with salt and pepper. (You could also do this step while the tomatoes are in the oven)

I used a fork to mash the ingredients together.

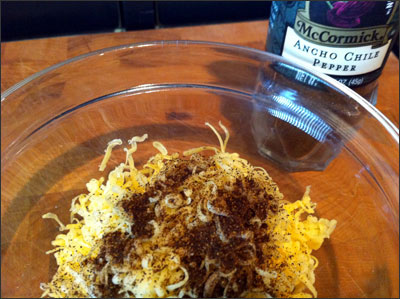
I stored the avo mixture in the fridge and started on the cheese. Place the cheese in a medium bowl and sprinkle the ancho chile  powder on top.

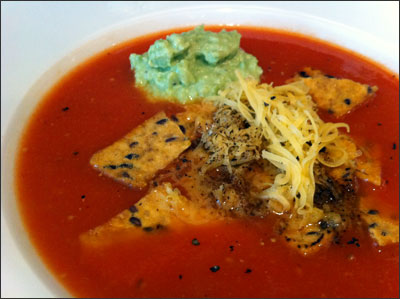
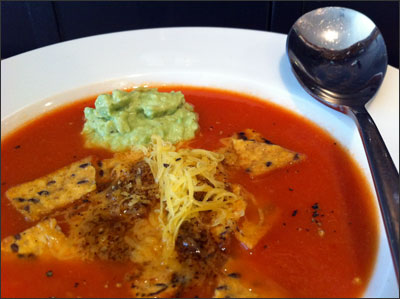
Let the soup finish simmering and then ladle into bowls and serve with the avocado cream, cheese and tortilla chips.

This soup was incredible! Totally worth the extra work and steps of making it from scratch.

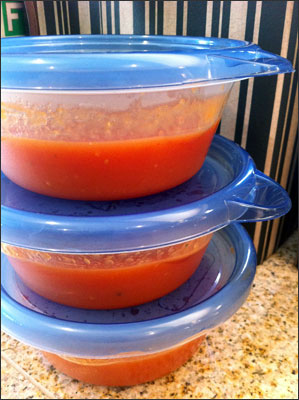
I was able to enjoy a rather large bowl, and I had 3 containers left for lunches or dinners this week.

Next time I think I will double the recipe – especially when I can get tomatoes on sale.

The mess was not equal to the fruits of my labor – a double batch and a full-sized food processor would have helped.

I look forward to many more soup recipes here on the blog and enjoying them all Fall/Winter long.

What’s your favorite soup?

Permanent link to this article: http://foodiddy.com/?p=1064