Coconut Shrimp

It was time to make something that the hub and I could enjoy together.  Dan told me when I started this blog not to worry about him for dinners. Sure, he loves when I cook something that he would like, but he’s just not the adventurous type. I love veggies and trying new things. He loves cereal, corn dogs and pizza.

I stumbled upon a recipe in my Taste of Home Summer Appetizer magazine for Coconut Shrimp and I knew he would like it. I attempted to make it on several occasions but never brought the actual recipe to the grocery store – I was always missing 1-2 items. I finally copied the recipe into my phone and yesterday I picked up the last two ingredients on my lunch hour.

The Ingredients:
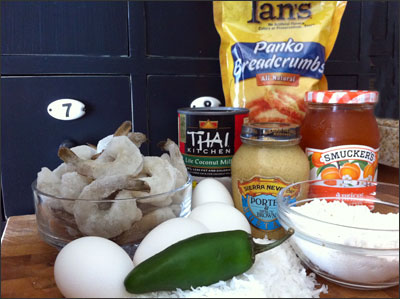
1 Can (14 ounces) Light Coconut Milk
1 Jalapeño Pepper – seeded and chopped
1/4 Cup Minced Fresh Cilantro
1- 1/4 Pounds Raw Medium Shrimp – I used 1 lb. of large peeled/deveined with tails on.
3/4 Cup all-purpose Flour
4 Egg Whites
3/4 Cup Panko Bread Crumbs
3/4 Cup Flaked Coconut, lightly toasted – whoops, forgot that step!
1/3 Cup Apricot Preserves
1 Teaspoon Spicy Brown Mustard

Directions:

Place 2 tablespoons coconut milk in a small bowl, cover and refrigerate. (This will be used in the dipping sauce later)
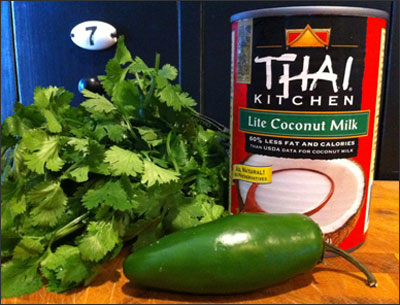
In a large resealable plastic bag, combine the jalapeño, cilantro and remaining coconut milk.
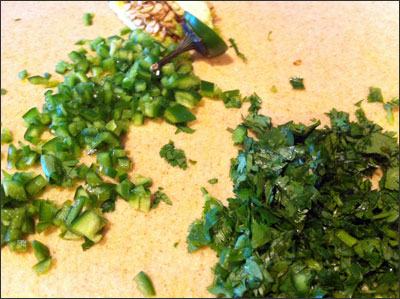
I got my jalapeño and cilantro chopped up for the marinade…
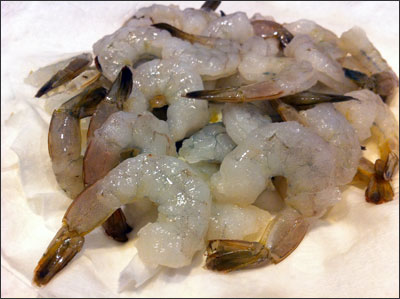
…and  my shrimp washed and then it was time to add everything to the Ziploc bag.
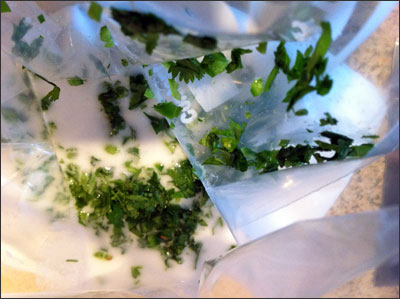
I placed the shrimp into the bag and gently turned it to make sure all of the shrimp were coated well with the marinade. I then set the bag in the fridge for an hour while I hit the treadmill.
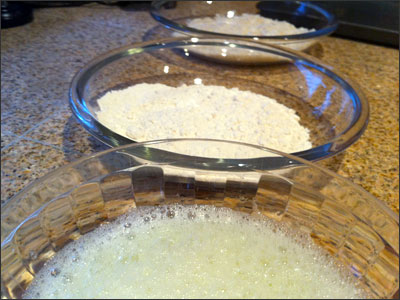
The next step… Place flour in a shallow bowl. In another bowl, lightly beat the 4 egg whites. In a third bowl, combine the bread crumbs and the lightly toasted coconut. I did not toast mine – due to forgetting that step all together. It stuck really well without being toasted. The shrimp would probably turn out more golden if I had done the toasting step. Maybe next time.
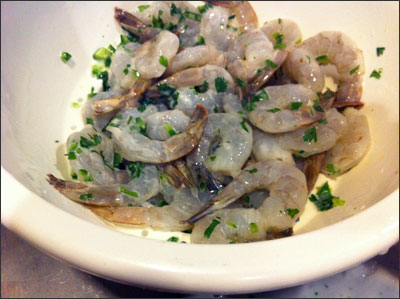
Drain and discard the marinade.
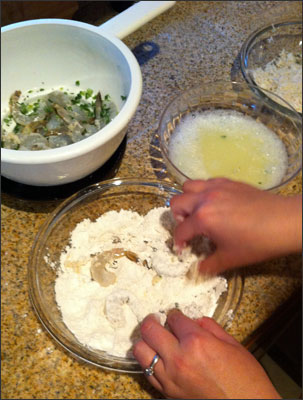
Dip shrimp in flour and then egg whites. Then roll them into the panko/coconut mixture. This took a while, but was worth the effort.
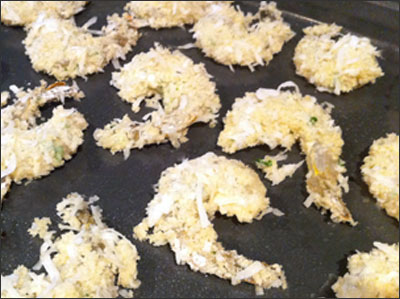
Place the coated shrimp on a baking sheet coated with cooking spray. Bake at 400 degrees for 7-9 minutes on each side or until lightly browned. I turned mine over at 9 minutes and the second side only took about 6 minutes.

I prepared the dipping sauce while the shrimp was in the oven.
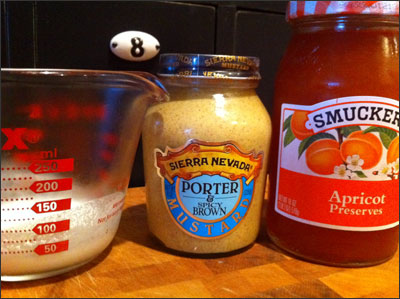
I grabbed the 2 tablespoons of coconut milk out of the fridge and added a heaping teaspoon of Sierra Nevada Porter and Spicy Brown Mustard to 1/3 cup apricot preserves and used a fork to really mix it well.
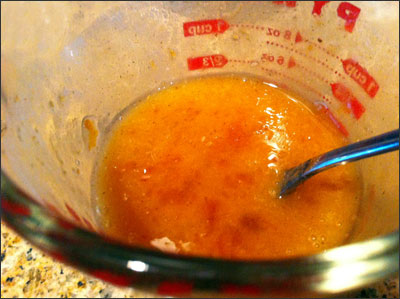
My photos are super orange due to the lack of natural sunlight. No worries – I’m shopping for a new camera 😉 – otherwise the fall/winter months could be really difficult for my food photos after 6:00 p.m.

Back to the shrimp… The kitchen smelled amazing, the timer went off and it was time for plating, final blog photos and eating.
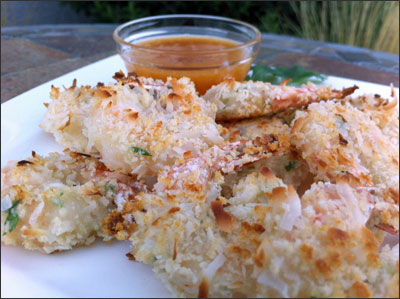
Kind of hard to see their shapes with them piled on the plate.
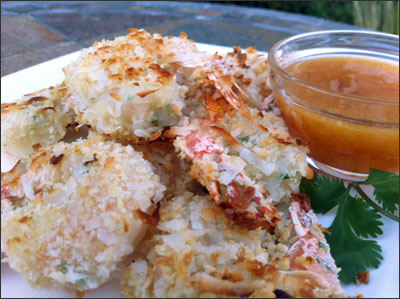
I just kept wanting to pull the toasted coating off the shrimp pieces.

More photos…

More grainy photos…
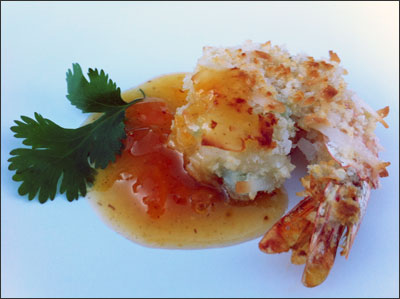
These were iPhone photos with very little light…
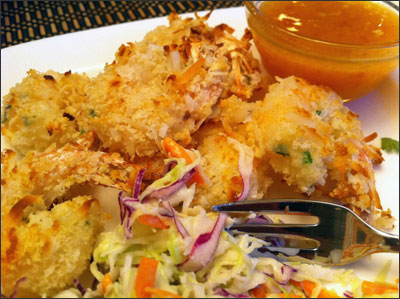
I made a side of coleslaw and we both dove in. We pretty much ate the entire cookie sheet full of shrimp between the two of us. It was awesome! The perfect amount of crunch combined with plump and juicy shrimp. The sauce was addicting – I wanted to lick the bowl.

While it was a more time-consuming meal to prepare, I managed. I worked a full 8 hr. day, got in a 70 minute treadmill workout and still had time to prepare and sit down for a nice dinner with Dan. Couldn’t ask for anything more perfect than that.

Have a great weekend!

Permanent link to this article: http://foodiddy.com/?p=1036

Aarti’s Massaged Kale Salad

So it’s no secret that I’m obsessed with all things Food Network. Watching the 6th season of The Next Food Network Star definitely fell into that obsession.  I really liked Aarti Sequeira from the beginning. I loved that she was a food blogger over at Aarti Paarti before going on the show. Her personal style was to infuse Indian cuisine into everyday American foods. She questioned her ability to compete with working/professionally trained chefs, yet she won lots of the competitions and challenges. I was not surprised that she was crowned The Next Food Network Star.

Her first showed aired over the weekend. I set the DVR and watched it on Monday. I really liked her style and the first show had some great recipes. Sloppy Bombay Joe’s – which I plan on making at some point, Massaged Kale Salad, which I did make,  and Creamy Pistachio Pops.

I loved the Kale Chips I made back in July…but those were cooked. Raw kale? Who knew? The concept was really interesting to me.

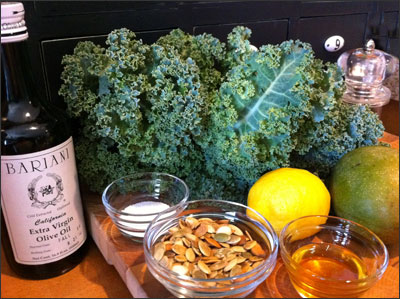
The Ingredients:

1 Bunch of Kale – She used black kale – I already had regular curly kale on hand  – she mentioned that was fine too. (Remove stalks and discard, ribbon slice the leaves).
1 Lemon – Juiced
1/4 Cup Extra Virgin Olive Oil – Plus extra for drizzling
Kosher Salt to Taste
2 Teaspoons Honey – I added a little more
Freshly Ground Black Pepper
1 Mango – Diced small (about 1 cup)
Small handful toasted pepitas (pumpkin seeds) – about 2 rounded tablespoons – I used about 4 tablespoons.

Directions:

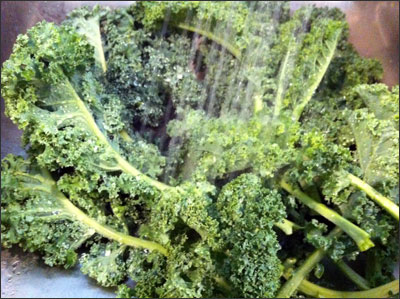
Wash your kale and then pat dry with paper towels.

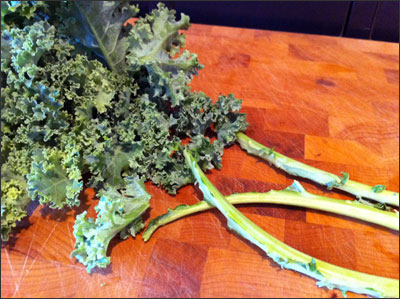
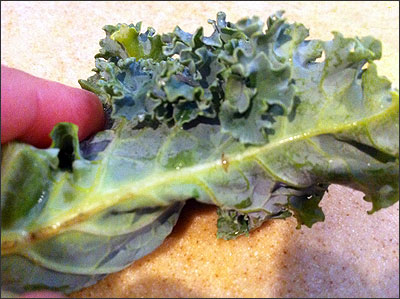
Using your hands – strip the kale off the stalk. This was very easy. I just held the stalk firmly and used my hand to slide through the curly leaves – they came right off the stalk very easily.

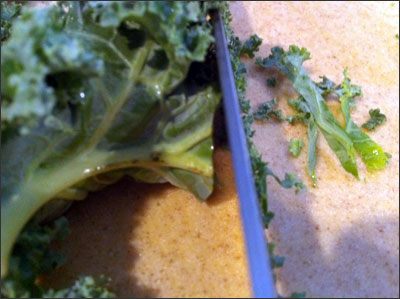
You are left with a pretty big pile of kale leaves. The idea is to roll them up as best as you can and then use a sharp knife to finely slice the kale into ribbons.

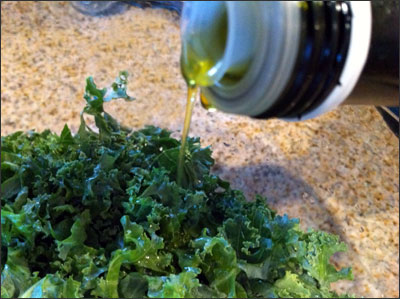
The curly kale made the process a little harder than what Aarti did with the black kale, but it worked in the end. I added the kale ribbons to a large bowl with 1/2 the lemon juice, a drizzle of oil and a little kosher salt.

You then dive right into the bowl with your hands. Massage the kale, lemon, oil and salt mixture until the kale starts to soften and wilt. I had a photo of me massaging the kale, but my hand looked like a giant ham hock and that was really disturbing. Massage the kale for a good 2-3 minutes. Aarti mentioned that it will start to smell like bananas – not so much, never got the banana aroma.

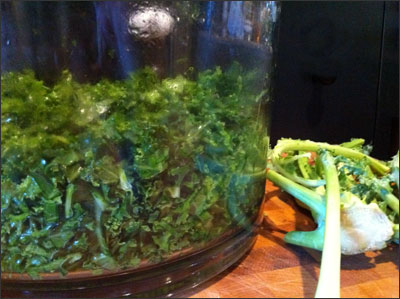
The volume of the kale definitely changed – before massaging, the kale was almost to the top of the bowl. It was amazing how much softer it got after the 3 minutes.

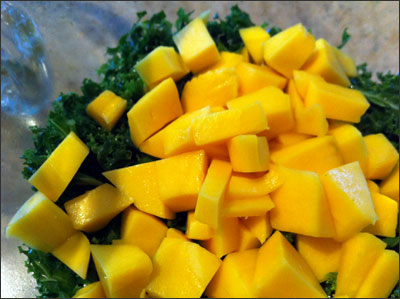
I got my mango chopped and then I started preparing the dressing.

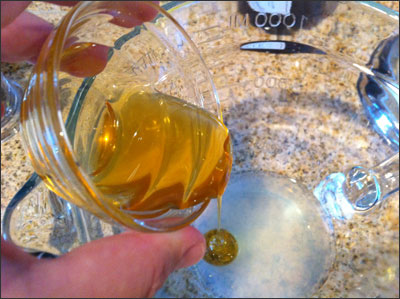
I whisked together the remaining lemon juice, honey and freshly ground black pepper. I then slowly added the 1/4 cup of oil, while whisking until it formed the texture of a well mixed dressing. I tasted it, added some more honey and some more lemon juice – I thought it was a little too oily.

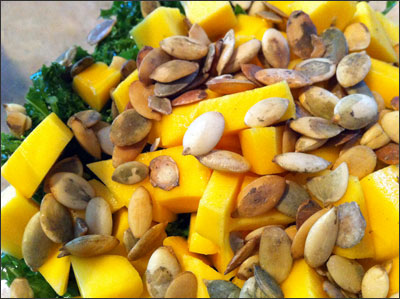
I added the pepitas to the salad and poured on the dressing, tossed, and then plated.

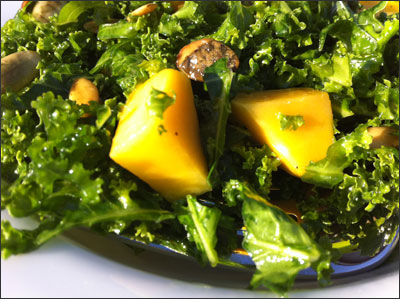
Outside photo with sunlight…

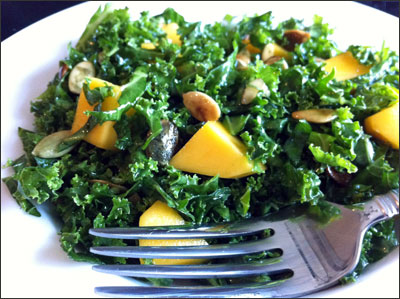
Inside photo with my iPhone…

What an amazing salad. It was perfect for a 106 degree day. I ate a small bowl, had some cheese toast with celery root and carrot salad and then had a hot date with my treadmill and the Rachel Zoe Project, followed by Top Chef and another small bowl of the salad – OMG, it tasted even better after marinating in the fridge for longer. The salad is addicting. Aarti mentioned on her show that because of the hearty structure of kale, it will hold up for several days in the fridge – dressing and all. What an awesome lunch option for me, love it!

I’m really looking forward to future Aarti Party shows. It’s about time I kicked things up Indian style. This blog was about branching out and trying new foods and styles of cooking. Never in a million years did I think I’d be looking forward to seconds, thirds and fourths of a raw kale salad.

Go me…

Permanent link to this article: http://foodiddy.com/?p=1010

Tofu Shirataki Ramen

Back in my Weight Watcher years (2003-2005) Hungry Girl started mentioning House Food’s Tofu Shirataki Noodles. Hungry Girl posted a recipe for Fettuccine Hungry Girlfredo! that used Laughing Cow Light Cheese.  I couldn’t find the noodles (back in 2005) in any local stores. I ended up ordering them online – they came in a fresh packed cooler. Us Weight Watcher girls weren’t going to pass up a pasta option that yielded only 1 point per package. 40 calories with 4 grams of fiber and only 6 grams of carbs – FOR THE ENTIRE package.

Once I got my noodle delivery, I sliced open the package and OMG, they STUNK so freakin’ bad. People had talked about the smell on the Weight Watcher message boards. They had a fishy/formaldehyde smell to them. Come on, you know you want some after that glorious description. hah!

The ingredients included: Water, Tofu (Water, soybeans, calcium sulfate, glucono Delta Lactone), yam flour and calcium hydroxide. I honestly could barely stand the smell. The directions stated that you should rinse thoroughly and parboil for 2-3 minutes (or 1 minute in the microwave) to reduce the authentic aroma. Authentic? Yes, that would be a stretch. “Stank ass” would be a better description. I did get used to the smell and the parboiling was key – it did go away.

I was really excited when Trader Joe’s, Whole Foods, Raley’s/Bel Air and Nugget Markets all started carrying the tofu noodles. They became a regular staple in my Weight Watcher’s point counting diet.

I was never able to find the angel hair shaped noodles, only the fettuccine. I then stopped my Weight Watcher’s point counting obsession and I forgot all about the noodles for years. I was shopping at Trader Joe’s a few weekends ago and I saw them. They had the angel hair and I knew I wanted to give them a try. My goal was to create a less fattening ramen noodle soup. Did you know that a regular package of Top Ramen has close to 400 calories, 14 grams of fat, over 50 grams of carbs and nearly 2000 mg. of sodium? That’s crazy! I used to eat 2 packages for dinner while in college. Cheap, but definitely unhealthy.

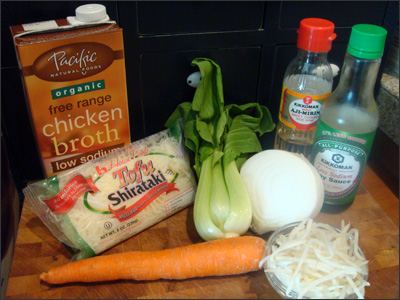
The Ingredients:

1/4 Cup thinly sliced white onion
1 Bok Choy – washed – cut off the end to separate leaves.
1/2 Cup Bean Sprouts – rinse and pat dry with paper towels
1/2 Large Carrot  – sliced thinly
1 Package Tofu Shirataki Angel Hair Noodles
2 Cups Chicken Broth – you could use any broth – I only had low sodium, I would use regular next time.
2 Tablespoons Soy Sauce – I also ended up adding a bit to the top of the bowl once served.
2 Tablespoons Rice Wine
1 Tablespoon Canola Oil

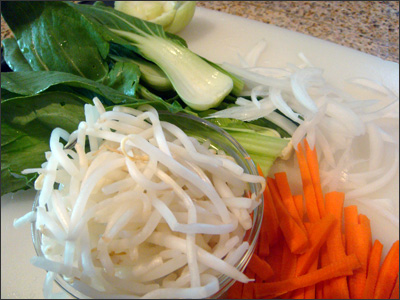
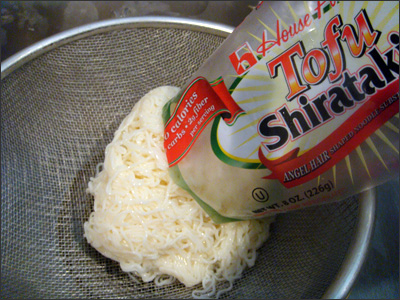
I got everything washed and chopped. I then rinsed the noodles and put them into the microwave for 1 minute to take care of the parboil.

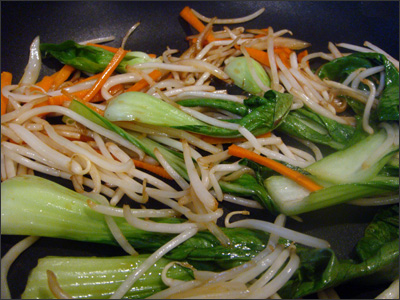
I got all of my veggies going into the Canola oil. The burner was set to high. I let the veggies sizzle in the wok for a good 3-5 minutes. I then added 1 tablespoon of the soy sauce and 1 tablespoon of the rice wine to get the flavors going.

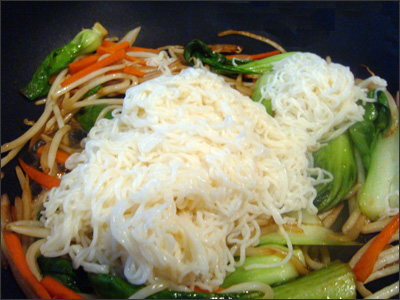
Once the veggies took on a grilled appearance and the bok choy shrunk in size, I added the noodles.

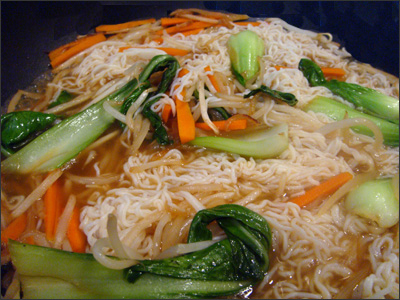
I used a fork to separate the noodles and then I added the chicken broth and remaining soy sauce and rice wine.

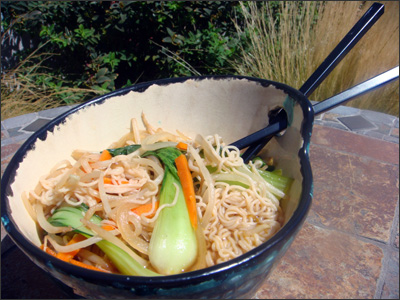
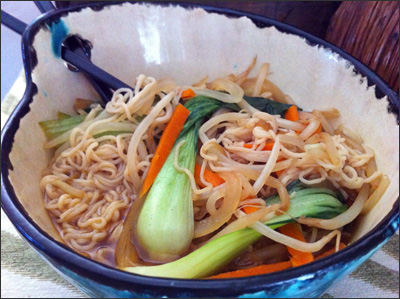
I continued to let everything cook for a few minutes on a lower temperature. I then served my ramen in a new bowl.

The story behind the bowl… I helped a girlfriend a few months back with her garage sale. She was helping to sell another girlfriend’s stuff – she sold her house and moved from the west coast to the east coast and really paired down. I was looking through some of the boxes and I found the bowl. I loved that it had the hole for the chopsticks and the teal color was amazing. Then I turned the bowl over and I knew I had to have it. The original owner of the bowl (Emilyn) had actually painted the bowl and her name was etched into the bottom.  I scooped it up and now Emilyn’s bowl gets to be featured here on Foodiddy. I love my new treasure and that it has a story.

Pretty bowls and plates make eating that much more enjoyable. Treat yourself to some fun and exciting bowls, dishes and placemats. You are worth it.  I usually find mine on the sale shelves of HomeGoods, TJMaxx, Tuesday Morning or Ross. I have an entire shelf of single dishes and bowls and I love each of them for different reasons.

Permanent link to this article: http://foodiddy.com/?p=984