Broccolini, Provolone and Portobello Sandwiches

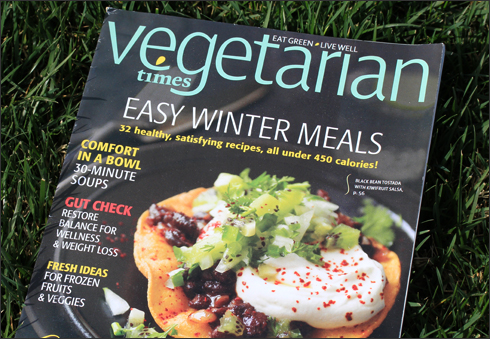
When I got my January/February 2014 Vegetarian Times magazine, I knew I had to make their Philly Style Sandwiches. They highlighted Broccoli Raab in the issue, but after 2 stores, Carolyn and I decided to go with broccolini. I know I can get it at the farmer’s market, the co-op or a few other local stores, but we had a lot to accomplish and driving from store to store wasn’t part of our plan. We adapted a few other things in the recipe as well. Those are noted below.

IMG_3371

 Broccolini

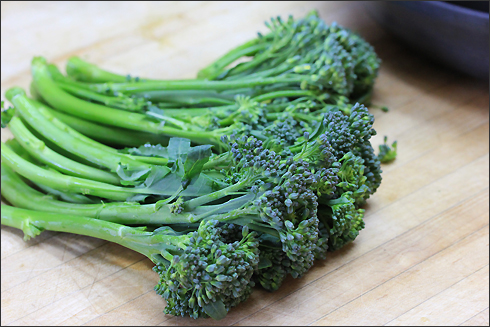
Broccolini is the trademarked name of a broccoli-and-Chinese broccoli hybrid. It has thin, tender stems topped with small budded clusters and a flavor some liken to asparagus. I’ve always referred to it as baby broccoli, which is wrong… but I still do it. Such a veggie rebel.

Chinese Broccoli (aka Chinese kale) has thicker stems and paddle-shaped blue-green leaves with a sweet taste.

Broccoli Raab is a member of the turnip family. It has many serrated leaves that surround clusters of buds that resemble small heads of broccoli. I find it to be more bitter compared to Chinese broccoli and broccolini.

So now that we’re finished with your Broccoli 101 course…
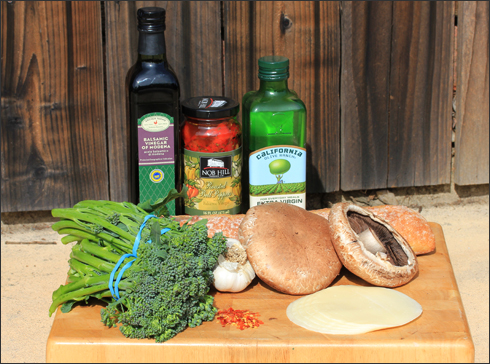
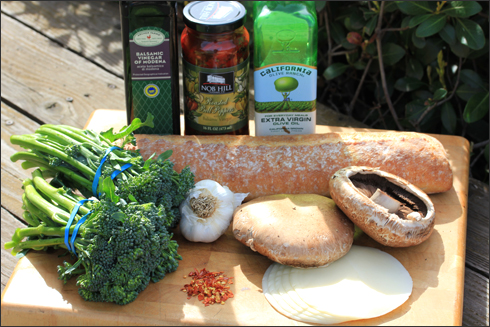
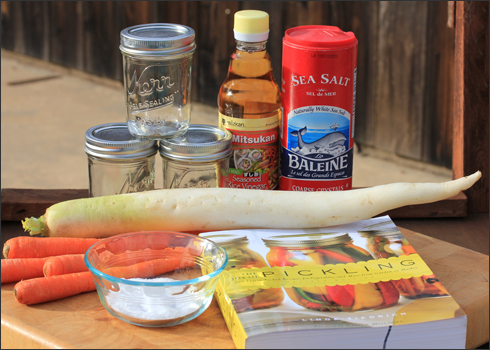
IMG_3373

IMG_3366

The Ingredients:

  • 1 lb. Broccolini – we only used 1 of the bunches
  • 3-4 Tablespoons Olive Oil
  • 1-2 Teaspoons Red Pepper Flakes – could be less or more, your call on the heat
  • 6-8 Cloves of Garlic – minced – about 2 Tablespoons
  • 1 Cup Chopped Roasted Red Peppers –  we used peppers with balsamic vinegar
  • 4 Large Portobello Mushrooms – rough chopped
  • 1-2 Tablespoons Balsamic Vinegar
  • 1 Loaf of Crusty Bread
  • 4 Slices Provolone Cheese

 IMG_3376

Directions:

  1. Preheat oven to 400° F.
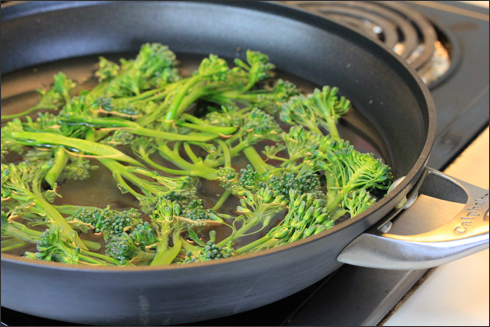
  2. Bring several inches of water to a boil in a large saucepan. Add the broccolini, cover pan and cook 3-4 minutes, turn with tongs and cook for additional 3-4 minutes. Drain, pat dry with papertowels and then coarsely chop.
  3. Heat 2 1/2 Tablespoons oil in nonstick skillet over medium heat. Add red pepper flakes and broccolini and saute 5 minutes or until tender. Stir in garlic, then roasted peppers and saute for a minute more. Transfer to a plate or bowl.
  4. Wipe out skillet (skipped that part) and heat remaining 1 1/2 Teaspoon oil over medium-high heat. We used more… add mushrooms and saute for 5-6 minutes. Stir in balsamic vinegar and cook for 2 minutes more or until liquid has evaporated. We ended up adding several additional splashes of balsamic vinegar to the pan.
  5. Toast bread pieces 6 minutes on baking sheet in oven. We gave each piece a good dose of olive oil before putting them into the oven.
  6. Divide portobello mushrooms and broccolini among bread bottoms, then top each with 2 cheese half-moons. Return loaded sandwich bottoms to oven and bake until cheese melts. Place tops over sandwiches and serve.

IMG_3378

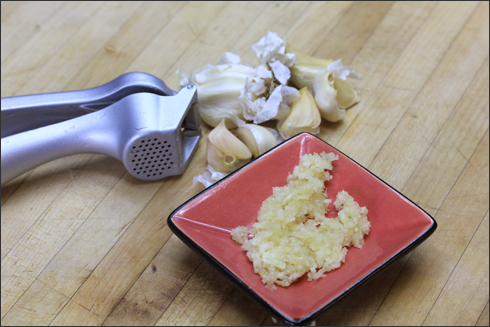
Lots of garlic… we actually upped the clove count from 6 to 8.

IMG_3382

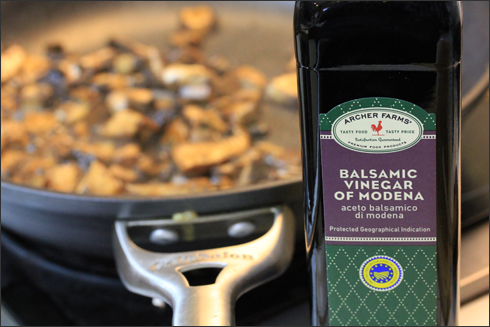
Mushrooms sauteing in the pan with balsamic vinegar…

IMG_6211

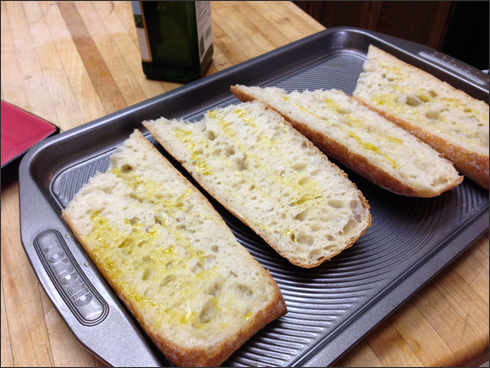
Bread pieces drizzled with olive oil and ready to go into the oven for baking.

IMG_3386

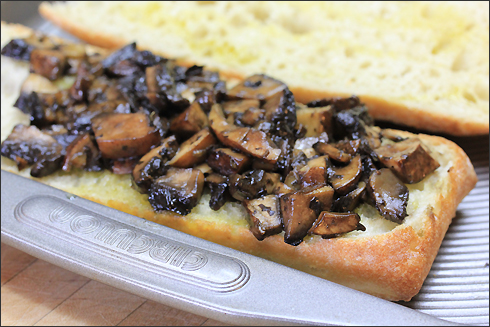
Mushrooms loaded on as the first layer after the initial bread toasting session.

IMG_3388

Broccolini and roasted red peppers were next…

IMG_3389

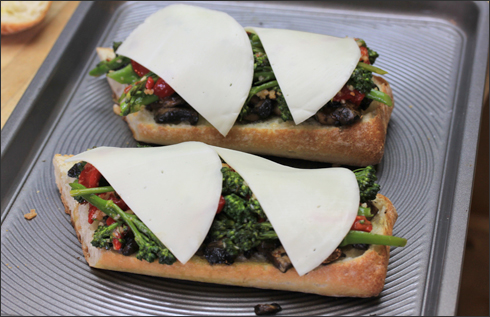
Provolone cheese toppers before heading back into the oven for the second time.

IMG_3400

IMG_3398

IMG_3406

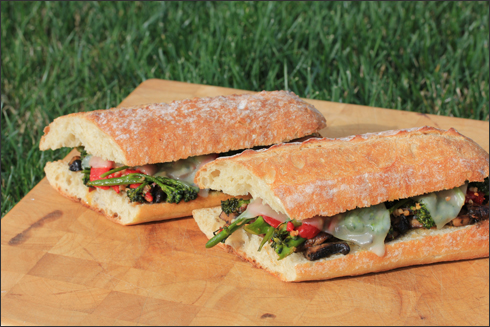
Incredible, out of this world, OMG, mouth watering… all of those things for sure.

IMG_3402

This is my new favorite sandwich. No joke. I’m actually counting down the days until I have all the ingredients on hand again to recreate these.

So yes, a total recipe success! Simple for the most part and a great addition to meatless meal options. Thank you Carolyn for allowing me once again to mess up your kitchen. Another fun blogging adventure between friends. I promised I would get back to cooking and blogging and so far so good. I’m enjoying my happy place once again.
foo1120

Permanent link to this article: http://foodiddy.com/?p=9559

Just Pickle It – Part II

Our second pickling adventure of the day was to make some Pickled Carrot Chips w/Dill. I’ve been buying cheater/lazy bags of ready-to-eat carrot chips at the grocery store for years. I’ve tried both Bolthouse Farms and  Grimmway Farms… no favorite to speak of, both are excellent.  Carolyn felt that the chips would work well for our pickling project and she was right.

Potato chips are a weakness of mine, especially crunched into sandwiches… so a healthy substitute is definitely a good thing and these pickled carrot chips fit very nicely into my sandwich layers.

IMG_3448

Ingredients:

  • 16 oz. Carrot Chips – pre-packaged bag, or you could slice your own
  • 1 Tablespoon (one big squeeze) of Gourmet Garden Dill Paste to each jar/container
  • 8 Garlic Cloves – chopped
  • 1 Red Fresno Chili Pepper – seeded and diced (you could substitute any pepper you like)
  • 1/2 Teaspoon Whole Black Peppercorns – crushed
  • 1 1/2 Teaspoons Pickling Salt
  • 1 Cup White Wine Vinegar
  • 1 Cup Water
  • 1/4 Cup Sugar

 IMG_3451

 Directions:

  1. Blanch carrot chips in boiling water, or steam them… we opted to blanch until barely tender. This was a very quick process 2-3 minutes. Once barely tender, immerse them in cold water to stop the cooking process.
  2. Squirt dill paste into jars/containers and fill with carrot chips.
  3. In a pot, bring the remaining ingredients to a boil (chopped garlic cloves, diced chili pepper, crushed peppercorns, pickling salt, vinegar, water, sugar)
  4. Cover the carrots with your freshly boiled liquid mixture, cap jars/containers and let cool to room temperature.
  5. Refrigerate jars/containers for 2 days or longer before eating – they need to soak up the delicious flavors. They will keep for at least 2 months in the fridge.

IMG_3452

Ice bath after a quick blanch…

IMG_3461

Gourmet Garden Dill Paste squeezed into the bottom of each jar… not the most attractive thing to photograph… this paste allows me to keep herbs in my fridge without worrying about them going to waste. Fresh dill would definitely work too. I continue to purchase the dill paste because my two local markets NEVER have fresh dill. I’ve used it as a wet rub on meat (mostly flank steak, salmon and chicken) with other spices… it has been a handy thing to have on hand.

IMG_3465

We used a ladle to fill each jar with the liquid mixture. We then scooped the remaining good stuff (the garlic and chili peppers) evenly into each jar. Carolyn was our lovely hand model of the day. She came cheap. :).

So here’s a side story… sort of Seinfeld – George Costanza hand model like. BTW, “The Puffy Shirt” Seinfeld episode is indeed one of my favorites. Anyway…  I was working for an ad agency and we hired a hand model for several photo shoots. He arrived wearing 2 layers of gloves with an entire suitcase of hand care products. We had food and drinks available to all of the models we worked with that day and he wore gloves to eat, drink, sign paperwork, etc. His money makers never saw daylight and he never touched any non-job related surfaces. It was fascinating and creepy at the same time. Back to the recipe…

IMG_3468

A chopstick came in handy for mixing – we wanted to make sure the garlic and pickling spices made their way throughout the carrots.

IMG_3471

The liquid clouded over a bit due to the dill mixture and it being piping hot. Once it reached room temperature, it became less muddled.

IMG_3477

These were absolutely delicious! If you are not a garlic lover, you could definitely cut down on the clove count… but I feel like it really elevated these chips. I might even add a second chili pepper next time for some added bite. I blew through my supply quickly and can’t wait to make them again.

What should I make next? I love sauerkraut and have been wanting to make some. I’ve been buying Sonoma Brinery Raw Sauerkraut since adopting the 17-Day Diet way of eating (which includes 2 daily probiotics) several years ago. Cabbages are a plenty with St. Patrick’s Day fast approaching. Who knows, I might try my hand at a little fermentation project.  Has anyone made their own sauerkraut? Any tips or tricks to share?

foo


Permanent link to this article: http://foodiddy.com/?p=9527

Just Pickle It – Part I

Remember back in June when my girlfriend Carolyn introduced me to making jam/jelly? Well, her most recent culinary interest involves pickling things. She’s tried pickling various things over the past year and is working on perfecting the craft. I jumped at the chance to join her when she invited me over to her place to pickle some carrots and daikon.

IMG_3431

I became kind of obsessed with thumbing through Carolyn’s copy of The Joy of Pickling and now I also think I need Linda Ziedrich’s other book, The Joy of Jams, Jellies, and Other Sweet Preserves. We used the recipe as inspiration and just sort of did our own thing from there.

Carolyn is a master at moving through the kitchen at warp speed. I was snapping photos left and right with two different cameras and reminding her that this blogger needs to document everything. It became a running joke between us. I would tell her that she was failing as a blogger and as I carried cutting boards full of things outdoors to photograph them, she would take extra time staging the next round of things appropriately… She showed me that she indeed rocks and needs to get crackin’ on her own blog.

IMG_3433

We gathered up the necessary ingredients and got to work on making jars of Vietnamese Pickled Carrots and Daikon Radish.

Ingredients:

  • 2 Large Daikon Radish
  • 8-10 Medium Sized Carrots
  • 2 Tablespoons Sea Salt   (Note: the recipe in the book called for 1/2 teaspoon of pickling salt, but we chose to use sea salt and 1/2 a teaspoon wasn’t enough – but 2 Tablespoons probably could have been reduced to 1-1 1/2 as the final product was a bit on the salty side.)
  • 4-6 Teaspoons Sugar
  • 3-4 Tablespoons Seasoned Rice Vinegar

I’ve always be very fond of matchstick Vietnamese pickled carrots and daikon radish in my banh mi sandwiches and other rice noodle and spring roll dishes. After having my own personal supply at home, I’ve realized that they work with way more dishes than I had imagined – in wraps, on all kinds of salads, in tuna, or just straight out the jar… I’ve always loved pickles, so it’s not surprising that like Carolyn, I now want to pickle the world.

Carolyn opted for thicker carrot and daikon sticks and thought it would be fun to try out her newish mandolin.

IMG_3440

IMG_3438

 IMG_3437

It’s your choice whether or not to peel the carrots or daikon, we opted to leave the skin on.

IMG_3442

It took us a bit to find a method that worked. I’m happy to report that no fingers were sliced/injured during this process. Carolyn’ s other half – Aaron, did bring in some safety gloves and offered his assistance at one point. Smaller pieces of daikon seemed to be key. We ended up switching to doing them by hand towards the end. We actually had a race and it took less time to hand slice. The good news is that I now feel confident enough that I WON’T end up in the ER after using my own mandolin. Do not fear the mandolin… got it!

IMG_3444

IMG_3445

Directions:

Toss the carrots and daikon sticks in a bowl with the salt. Let them stand for 10-15 minutes and then drain well. I was amazed at how much moisture was pulled out of the sticks.

IMG_6233

Dissolve the sugar in the rice vinegar and then pour the brine mixture over the carrot and daikon sticks. Make sure you taste the brine mixture before you pour it over the carrots and daikon. If you want your pickles on the sweeter side, you may need to add more sugar or for tangier, increase the vinegar. This is why the ingredient measurements have ranges. It’s your own personal choice.

Let the sticks stand at room temperature for an hour, tossing them several times during the hour.

IMG_3458

Divide the sticks into jars or containers, whatever works best for you. I personally loved the jars because of the tight lid seal and they were pretty to look at in my fridge.  If you don’t eat them right away, store in the fridge tightly covered. They will keep for up to a week.

 IMG_3455

Thank you Carolyn for the company on the grocery store run, the use of your kitchen, supplies and the hours of laughter as we busted out several recipes in one afternoon. Part II will be a different version of carrots – in fact, they’ve become a favorite of mine already – stay tuned.

foo1120

Permanent link to this article: http://foodiddy.com/?p=9509