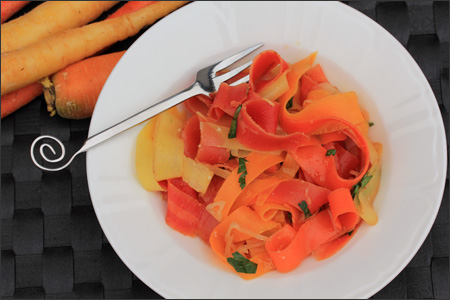
Carrot Ribbon Salad

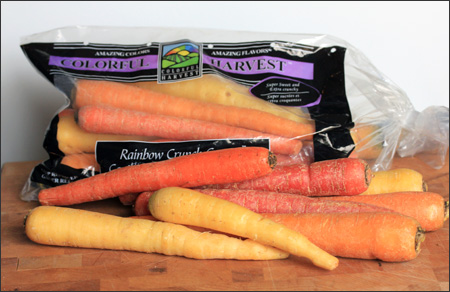
I was lucky enough to receive a box of Colorful Harvest vegetables to sample. I’ve posted other recipes on my blog using Colorful Harvest vegetables and they ended up using my Cauliflower Spanish Rice recipe under the “blog recipes” section of their website and facebook page. I was excited to try their Whole Rainbow Crunch™ Carrots and jumped at the chance when they offered to send me some. The carrots come in 2 lb. bags and I was sent 3 bags… which I shared with friends.

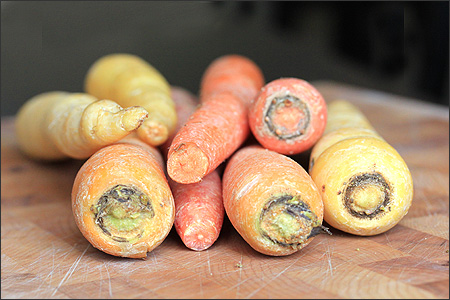
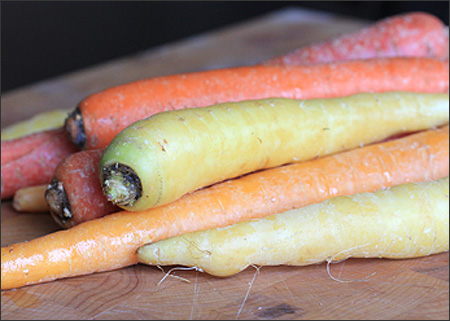
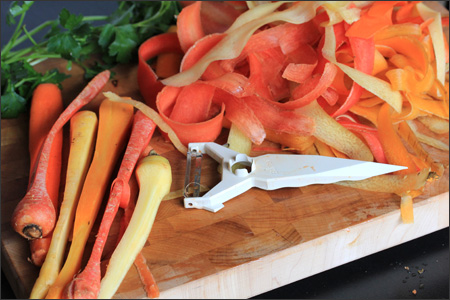
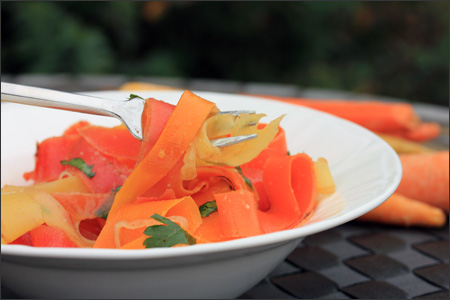
The colorful Rainbow Crunch™  Carrots are grown from heirloom seed varieties. I loved the different colors… shades of orange, red, yellow and a white (similar in color to parsnips) – The added color = a diversity of nutrients and antioxidants. They are basically a fun, foodie-licious way to add lots of flavor and color to your meals.

The carrots look so rustic, pretty sure I’m going to roast the ones I have left.

I’ve made carrot ribbon salad before, nothing fancy – just a basic vinaigrette using red wine vinegar. This time I wanted a different flavor profile, so I got to work in the kitchen using items that I already had on hand.

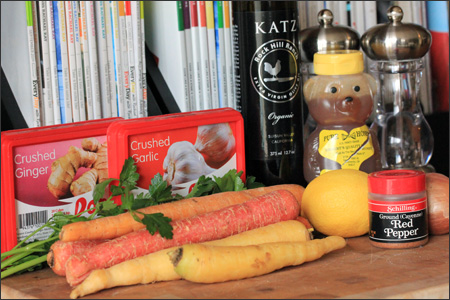
The Ingredients:
1 lb. Rainbow Crunch™ Carrots
3-4 Tablespoons Olive Oil
1 Cube Dorat Crushed Ginger
1 Cube Dorat Crushed Garlic
1 Medium Sliced Shallot – thinly sliced
Zest from 1/2 a Lemon
2-3 Tablespoons Freshly Squeezed Lemon Juice
2 Teaspoons Honey
1 Tablespoon Flat Leaf Parsley – chopped
Crushed Red Pepper
Salt

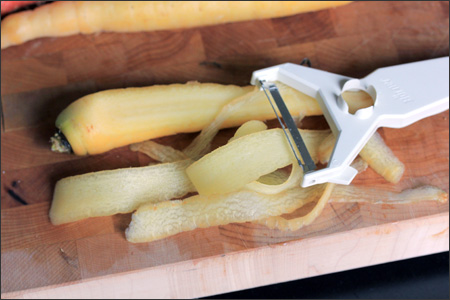
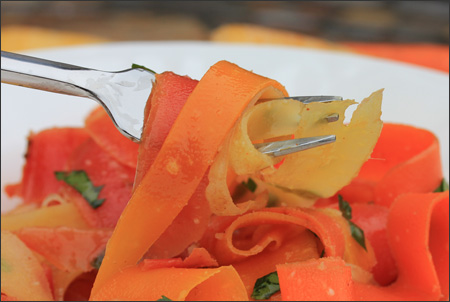
I got started making my carrot ribbons. I ran my veggie peeler the entire length of each carrot – holding the carrot firmly on the cutting board. I chose to not peel my carrots first.

I was left with a bunch of square carrot cores – which I chopped up and threw into a bag and placed into the freezer –  to later add to something, maybe soup.

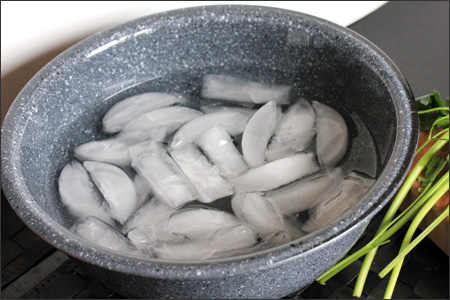
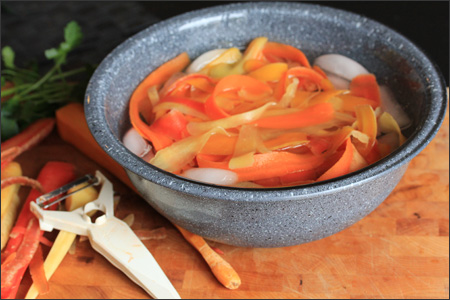
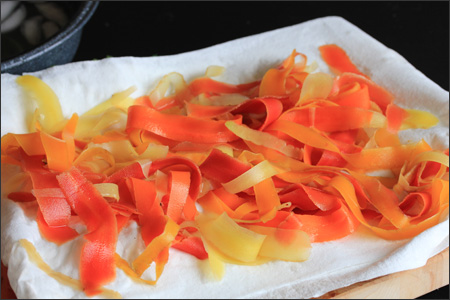
I filled a large bowl with ice and cold water from the fridge and then started a big pot full of water on the stove.  I added a pinch of sea salt to the big pot and brought it to a roaring boil. I dropped my carrot ribbons into the boiling water, counted to 25 and then removed them quickly and placed them into an ice bath.

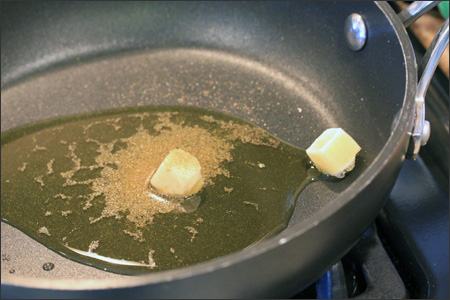
I got to work on the vinaigrette while the carrots sat in the ice bath. I added 2 of the 4 tablespoons of olive oil to a pan set to medium heat. I dropped in my frozen cubes of ginger and garlic and waited for the cubes to thaw out and separate. You could definitely use fresh garlic and ginger, I just didn’t have any. I took the mixture off the heat while I prepared the rest of the ingredients.

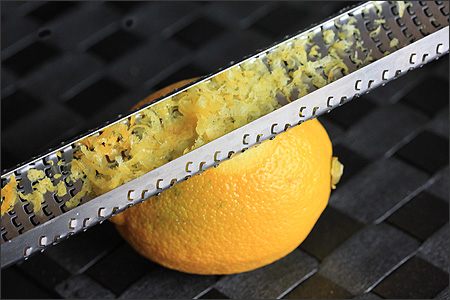
I zested 1/2 of the lemon and then juiced it. I sliced the shallot, chopped the parsley and measured out my honey.

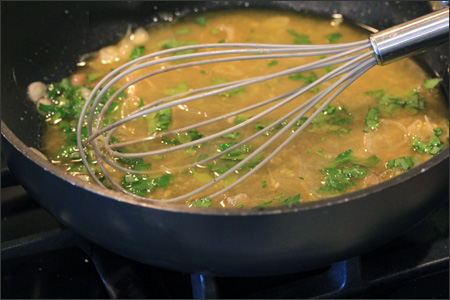
I added the lemon zest, lemon juice, shallots, honey, parsley and remaining 2 tablespoons of olive oil and whisked everything together. I then added 3 good shakes of crushed red pepper and a pinch of salt. You can use regular pepper if you want – the red did add some heat.

I placed my carrot ribbons on paper towels and patted them dry with more layers of paper towels. I then put my ribbons back into the dry/empty ice bath bowl and I poured the vinaigrette over the carrot ribbons and gently tossed.

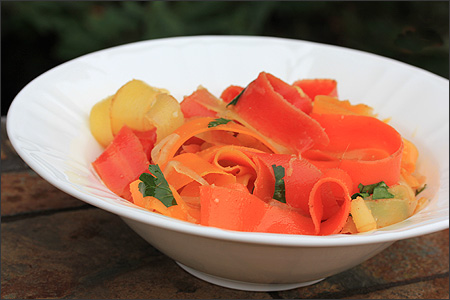
No more winter blues. This salad screamed SUMMER! and I loved every bite. You could definitely play around with measurements – less olive oil, more lemon juice… less honey, etc. I don’t thing there is a right or wrong to making the vinaigrette.

Do you have a favorite carrot recipe to share? I have 2.5 more lbs. of carrots to eat and we won’t even talk about the amount of cauliflower I have. Be on the lookout for another cauliflower recipe soon.

Link to printable recipe on my Recipage.

Enjoy!

Permanent link to this article: http://foodiddy.com/?p=7164

Egg and Glitter Hearts

With February 14th approaching, I thought I’d fill my blog with Valentine’s Day swoon-tastic food and decor. O.k., so maybe that’s a stretch. I picked up the latest copy of Phyliss Hoffman’s Celebrate magazine (the same magazine I created the super bowl themed tent cards from) and found a fun little activity that I wanted to explore further.

Heart shaped hard boiled eggs… Who knew? Don’t mind if I do. I mean come on, everyone is making pink cupcakes, heart shaped tarts dusted in powdered sugar, red velvet and candied everything… not so many heart shaped eggs out there. This is cutting edge stuff.

Instructions: Heart Shaped Eggs

  1. Boil eggs.
  2. While eggs are still warm, but cool enough to handle, remove shell.
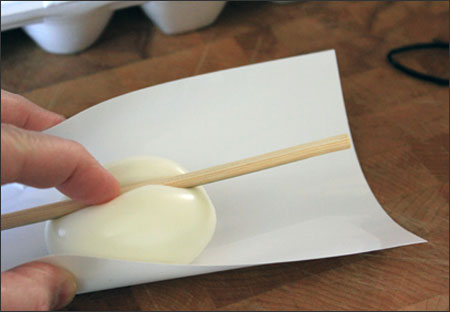
  3. FOLD (very important) 1 8×4-inch piece of paper (poster board or card stock) in half lengthwise.
  4. Place warm egg in center of poster board.
  5. Place a lollipop stick on top of egg, pressing gently.
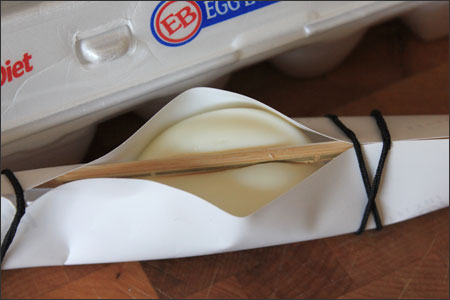
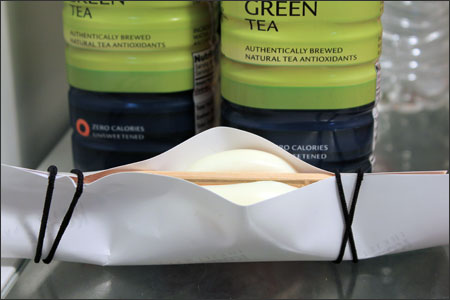
  6. Wrap rubber bands around both ends of lollipop stick and paper to secure egg.
  7. Chill in fridge for 15 minutes.
  8. Remove egg from paper and slice to approximately 1/8 -inch thickness

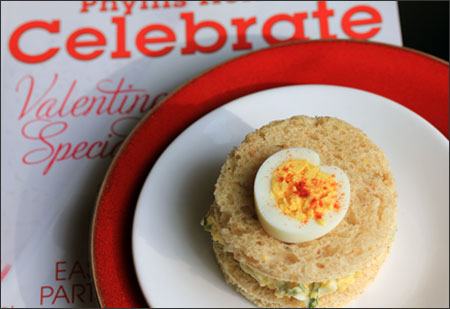
I read the “how to” instructions… but not very well. I forgot to fold my paper in half lengthwise – this resulted in a round heart, whoops! I also over boiled my eggs, so the insides were crumbly, but that’s another story. The shells didn’t stick, so I’m looking at that as a win!

I didn’t have any poster board or card stock, but I did have photo paper. I also didn’t have any rubber bands (I don’t get the newspaper and have never thought to actually buy rubber bands, does anyone purchase rubber bands?)  – I did however have a new packet of hair bands, so I used those. No lollipop sticks either, but I had some caramel apple sticks lefts over from Halloween. Hmmm, perhaps I should have taken inventory before starting the project, ha!

I got to work on making my egg salad while my egg torture contraption chilled out for 15 minutes on the top shelf of the fridge.

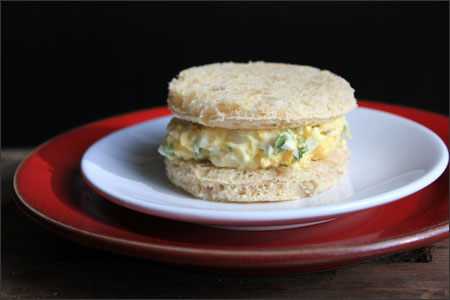
I decided to get all fancy with my sandwich. I broke out a ring mold to waste bread ;). I added some mayonnaise, salt, pepper and fresh parsley to my chopped up hard boiled eggs for the salad. I then double plated that puppy and got it ready for the ultra amazing heart shaped topper.

1-2 shakes of smoked paprika and voilà… wait, you can’t even tell it’s a heart…

Oh… so I needed to FOLD the paper – Son of a… Whatever, it was a fun afternoon project and it made my sandwich go from drab to dazzle in a matter of minutes. Next time I will be FOLDING the damn paper.

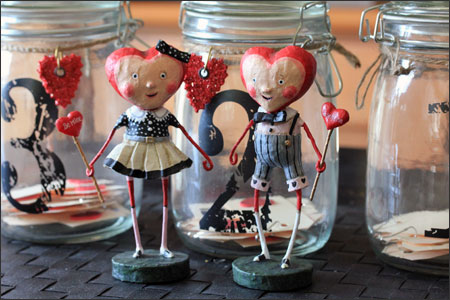
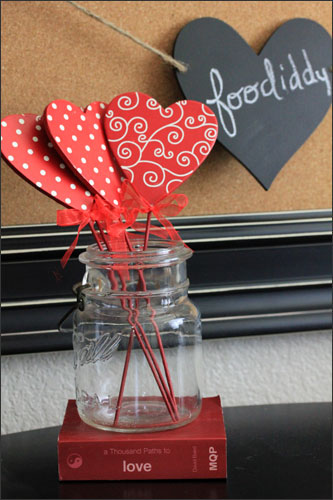
I also decided to decorate my house a little bit for Valentine’s Day. I didn’t go all out, but it does look like cupid threw up a little here and there.

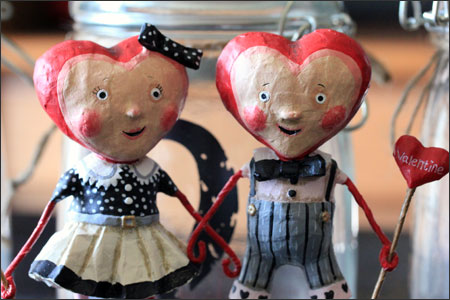
I love my funky heart figurines. I put them in front of numbered mason jars filled with heart tags and little love notes.

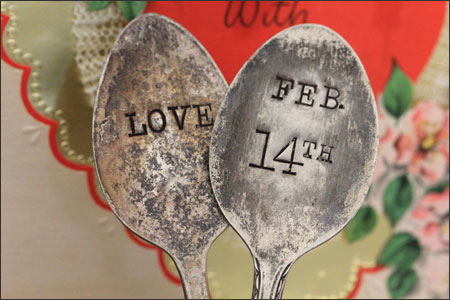
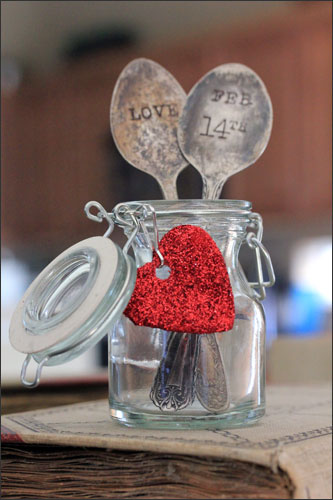
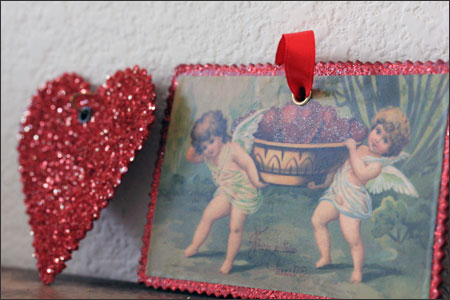
My stamped spoons are new this year. I picked them up at my favorite antique/gift shop and put them into a glass spice jar. I deconstructed a heart garland I found last year at HomeGoods and then I used jute twine to tie them to everything I could think of.

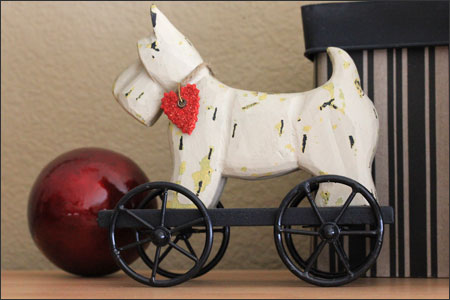
I wasn’t kidding… my Higga-type dog needed a festive collar. Jute and heart collar, coming right up.

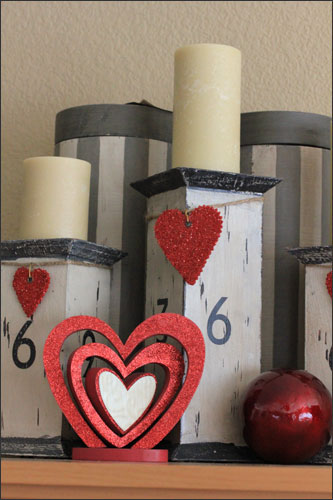
My numbered candle holders needed heart necklaces…

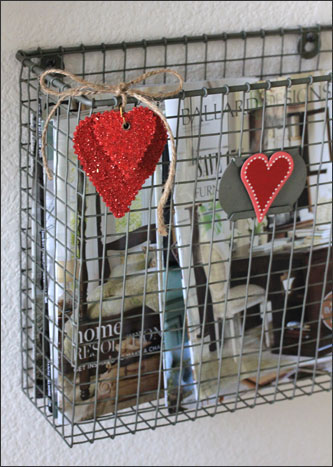
I blinged out my magazine/catalog holder…

I broke out my several year old “love” wooden blocks… the bonus there, I also bought an “n” so I could create “noel” at Christmas time.

A little heart filler replaced the natural pods and artichokes I had in the black and glass containers… the fun glittered sphere says, “My Funny Valentine.”

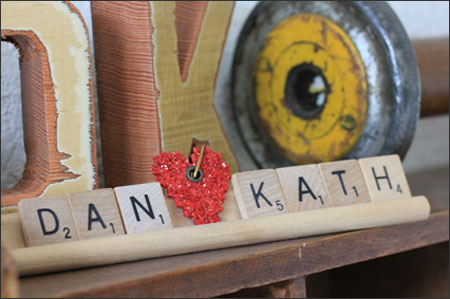
More Scrabble fun… I get high score.

Happy early Valentine’s Day from me to you and from my home to yours…

Permanent link to this article: http://foodiddy.com/?p=7085

Meat and Cheese Rolls

It’s Super Bowl Sunday – a day filled with friends, good food and stuffed bellies. When I was trying to figure out what to make, a childhood memory came flooding back to me. My Mom’s BFF made “Meat and Cheese Rolls” for our Lake Tahoe family trips to the snow. She also sometimes had them frozen in bags in her freezer for occasional quick dinners and snacking. I have not made them in probably 10 years, but as I was thumbing through my recipe box… yes, I still have an old-fashioned box – I came across a scribbled note with the ingredients and cooking instructions.

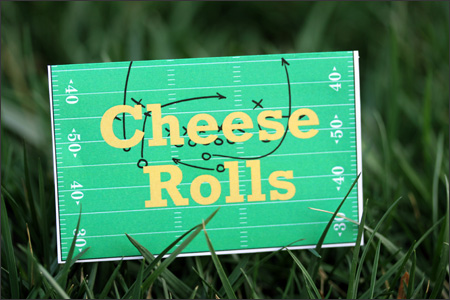
I downloaded a tent template from my new “Celebrate” magazine, and my Super Bowl snack started to take shape. What? It’s my inner Martha, I can’t help it… and yes, I laid on my patio to get a photo of my tent card on the grass. Hig wasn’t quite sure what was going on. Note: I’ve since changed the name to “Meat and Cheese Rolls” so veggie readers/friends like Dave2 and Julie won’t be disappointed when they click on the post to find that it does indeed include meat.

Ingredients:
1 lb. Ground Beef
1 Medium Yellow Onion
1 Small Can Chopped Olives
10 oz. Package of Cheddar Cheese
1 Small Can Tomato Sauce
1 Package of Rolls
Salt and Pepper to Taste

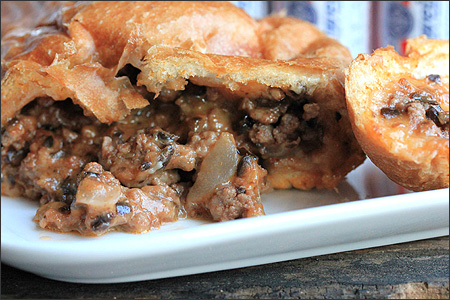
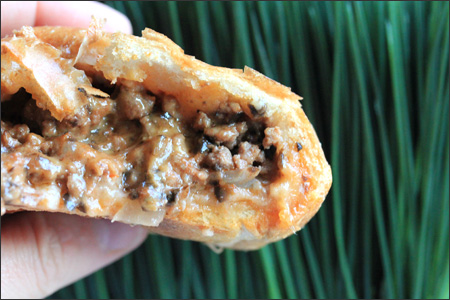
I love that the ingredients are so simple, yet so delicious when baked together. My ground beef was 10%, because it’s what I already had. You could probably go leaner, since you are adding fat with the cheese. I went with a medium cheddar for the cheese and my rolls where from the deli. I’ve also used packaged rolls from the bread aisle before. I really like the fresh baked deli rolls, because they get flaky like a croissant.

Directions:

  1. Preheat oven to 350 degrees F.
  2. Brown ground beef and onions in a pan. Add salt and pepper to the mixture while it is cooking. Once ground beef mixture has been cooked through; drain the meat and transfer to a bowl for cooling. You don’t want the mixture to be hot, when adding the shredded cheese.
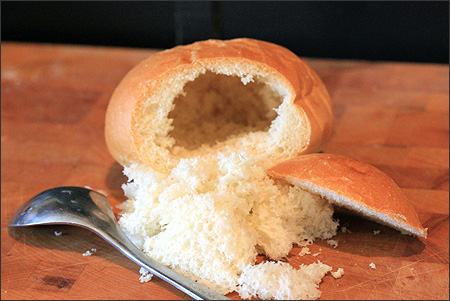
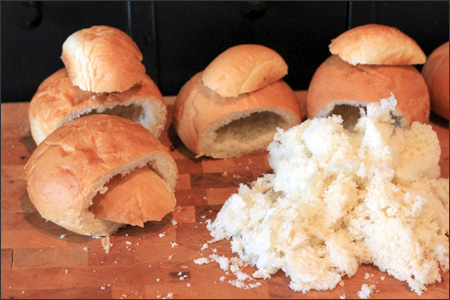
  3. While ground beef is cooling, slice the tops off the rolls and hollow the bread out using a spoon. Make sure you save the top lid of the bread.
  4. Shred your cheddar cheese.
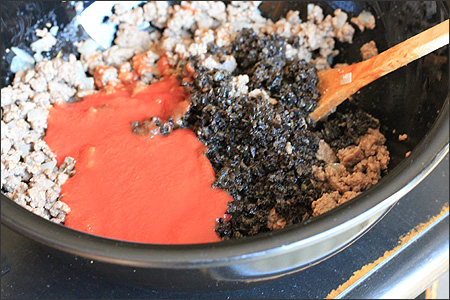
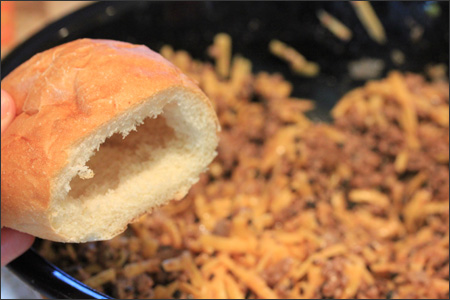
  5. Once ground beef is cooled, add tomato sauce, olives and shredded cheddar cheese and mix ingredients together.
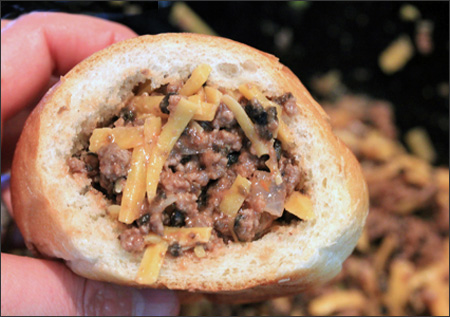
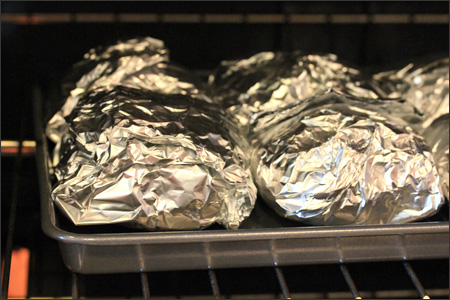
  6. Fill rolls with mixture and place bread lid on end and wrap in foil.
  7. Place in oven at 350 degrees F. for 30 minutes.
  8. Unwrap and Enjoy!

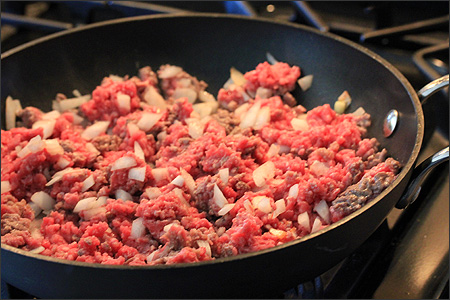
My ground beef and onions cooked on medium/high heat while I got busy shredding cheese.

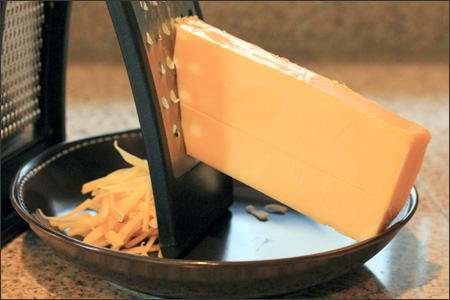
I shredded the entire brick of cheese. The brick was just shy of 10 ounces, it didn’t make a difference in the final recipe.

Once the ground beef was done cooking, I drained off the extra grease, then put the ground beef into a bowl for cooling. I then got to work on my bread domes. I remember calling them bread garages as a kid. I loved helping with this part as a kid.

I hollowed out a dozen rolls and ended up having mixture left over. I think depending on roll size, you could easily fill 16 rolls.

Add your tomato sauce, olives and cheese to the cooled ground beef mixture and stir everything together.

Grab your first roll and add the ground beef/cheese mixture using a spoon.
Once you have filled the roll, find the bread lid, close it up, and wrap in foil.
Place your foil wrapped cheese rolls into the oven at 350 degrees F. for 30 minutes. I put mine on a baking sheet, but it’s not necessary, they could go straight onto the rack.

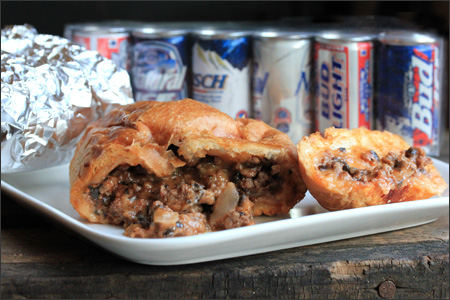
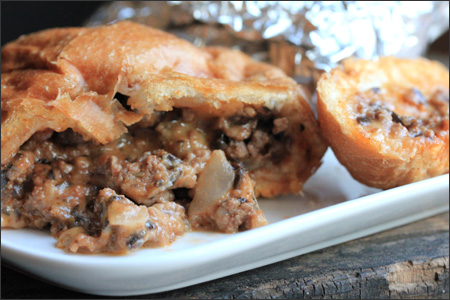
Meaty/cheesy goodness right on a plate. So simple and so delicious!

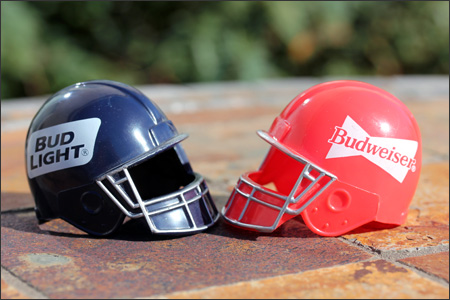
Bring on the football/commercials! The Super Bowl was a big thing for me back in the day. Ace worked as a grocery store manager and the weeks prior to the Super Bowl were filled with late nights, huge store displays and one tired husband. I usually ended up going to parties with my brother and friends because he had to work, but we always watched it together once he got home. He was a HUGE Budweiser/Anheuser Busch fan… the reason I used some of his collectible cans and things in my photos… and the Budweiser commercials were his favorite part of the Super Bowl. Great memories for sure.

I hope there are some good ones today! I tried to stay away from the commercial spoilers all over the Internet, but managed to still see a few. The Canadian Hockey Budweiser commercial is awesome! I’m also looking forward to Madonna at half time. How about you? What are/were your Super Bowl plans?

Have fun today!

Permanent link to this article: http://foodiddy.com/?p=7125